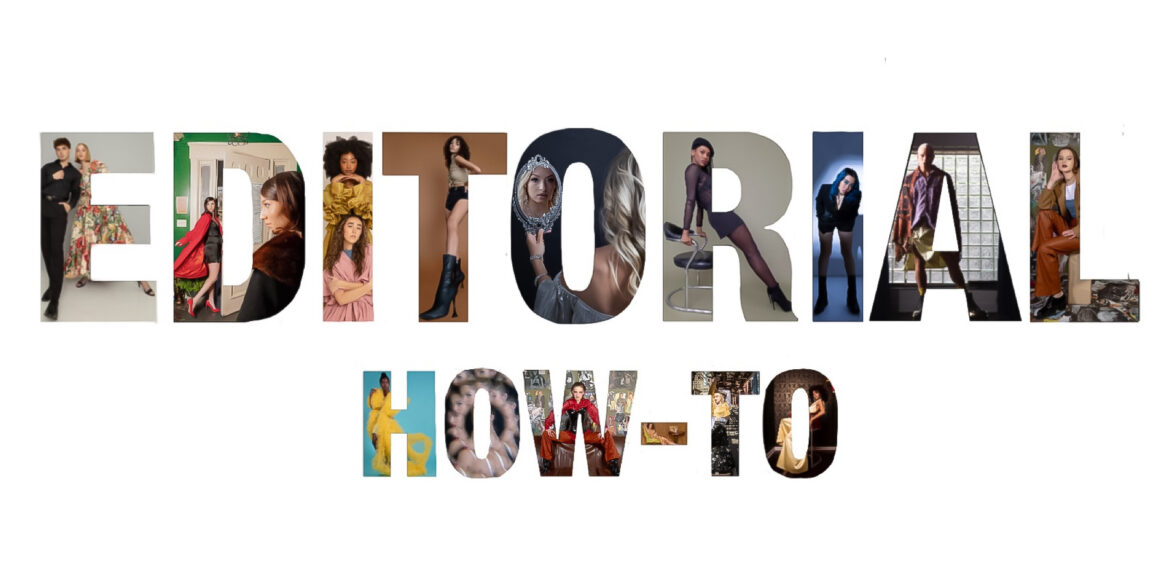
Want to create an editorial but don’t know where to start? If you have a creative idea for a photoshoot, this guide will give you the confidence needed to get started!
First things first: what is a fashion editorial? A fashion editorial is a collection of images made with the intent to be published in a magazine. You might be familiar with seeing fashion editorials published on PATTERN’s digital site and print magazines. But what makes it a fashion editorial?
Oftentimes in print editorials, the clothes worn by models might be from a new collection. The editorial shows off the clothes and, most importantly, entices people into buying them. This isn’t always the reason an editorial is created, however.
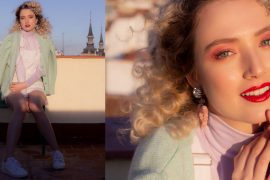
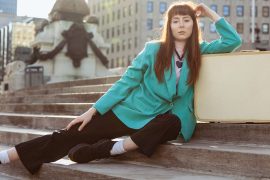
Sometimes a photographer has a story they want to tell—take my recent editorial, “Ode to PATTERN”. I wanted to celebrate all the art created in the PATTERN community over the past decade-plus, while still showing off my own vision with the set and styling. In this editorial, the model becomes trapped in the PATTERN world where she’s surrounded by all of the editorials featured in PATTERN.
A fashion editorial isn’t a one-shoe-fits-all scenario. Your vision and creativity is going to differ from the next person’s, and that’s what makes editorials so much fun. The possibilities are endless! You can’t really go wrong with the theme of your editorial, but the steps to get there can be confusing and unclear. That is why we are going to dive in deep and go over the most common aspects of planning a fashion editorial.
Brainstorming Sesh
Come up with a topic or theme.
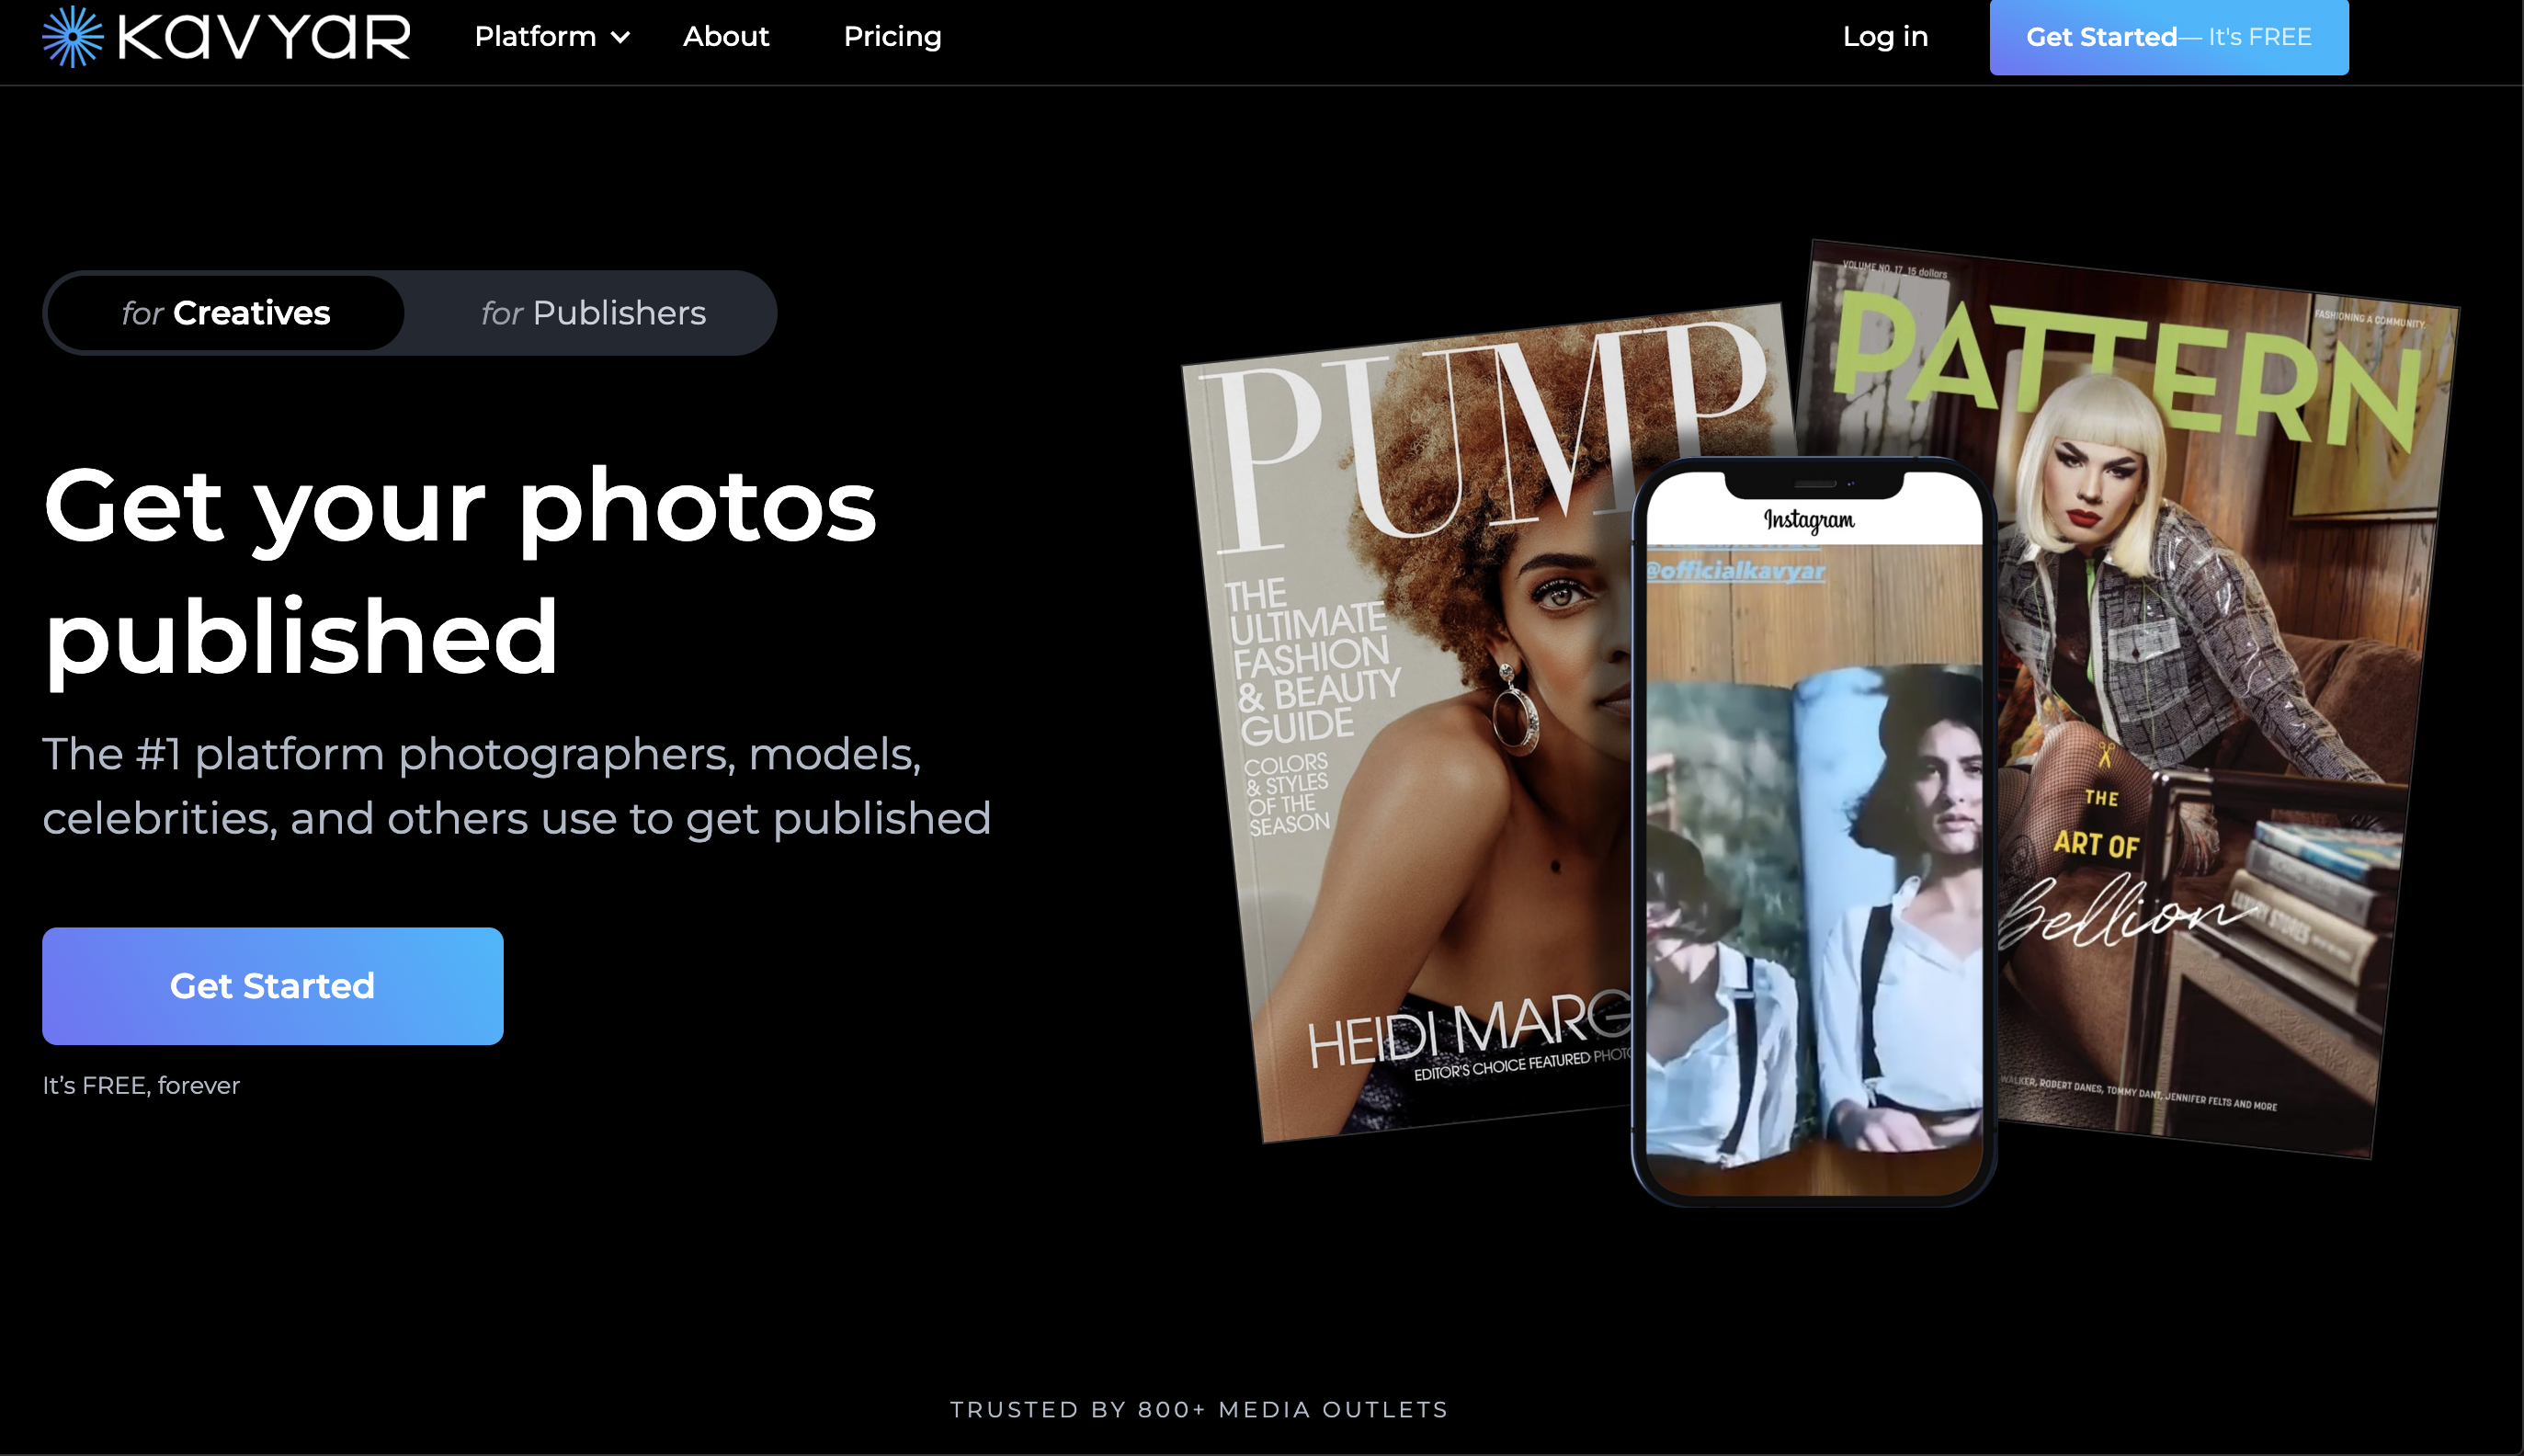
Sometimes you already have an idea, but other times, you have to search for inspiration. Going to the bookstore and browsing fashion magazines is a great resource. You can also go online and check out digital fashion magazines and see the editorials they share on their websites. Google and Pinterest are two other great options to get inspiration from—search some keywords and keep browsing until you’ve found the theme for your next editorial. There’s even a website called FashionEditorials.com, which culls editorials found in all the biggest fashion magazines for you to browse. Alternatively, you can browse Kavyar—a site that connects photographers with magazines—and see exactly what magazines are looking for. Often, the magazines will list their theme for their next issue. You can take that theme, build an editorial related to it, and then submit it back to the magazine in the hopes of getting your editorial published.
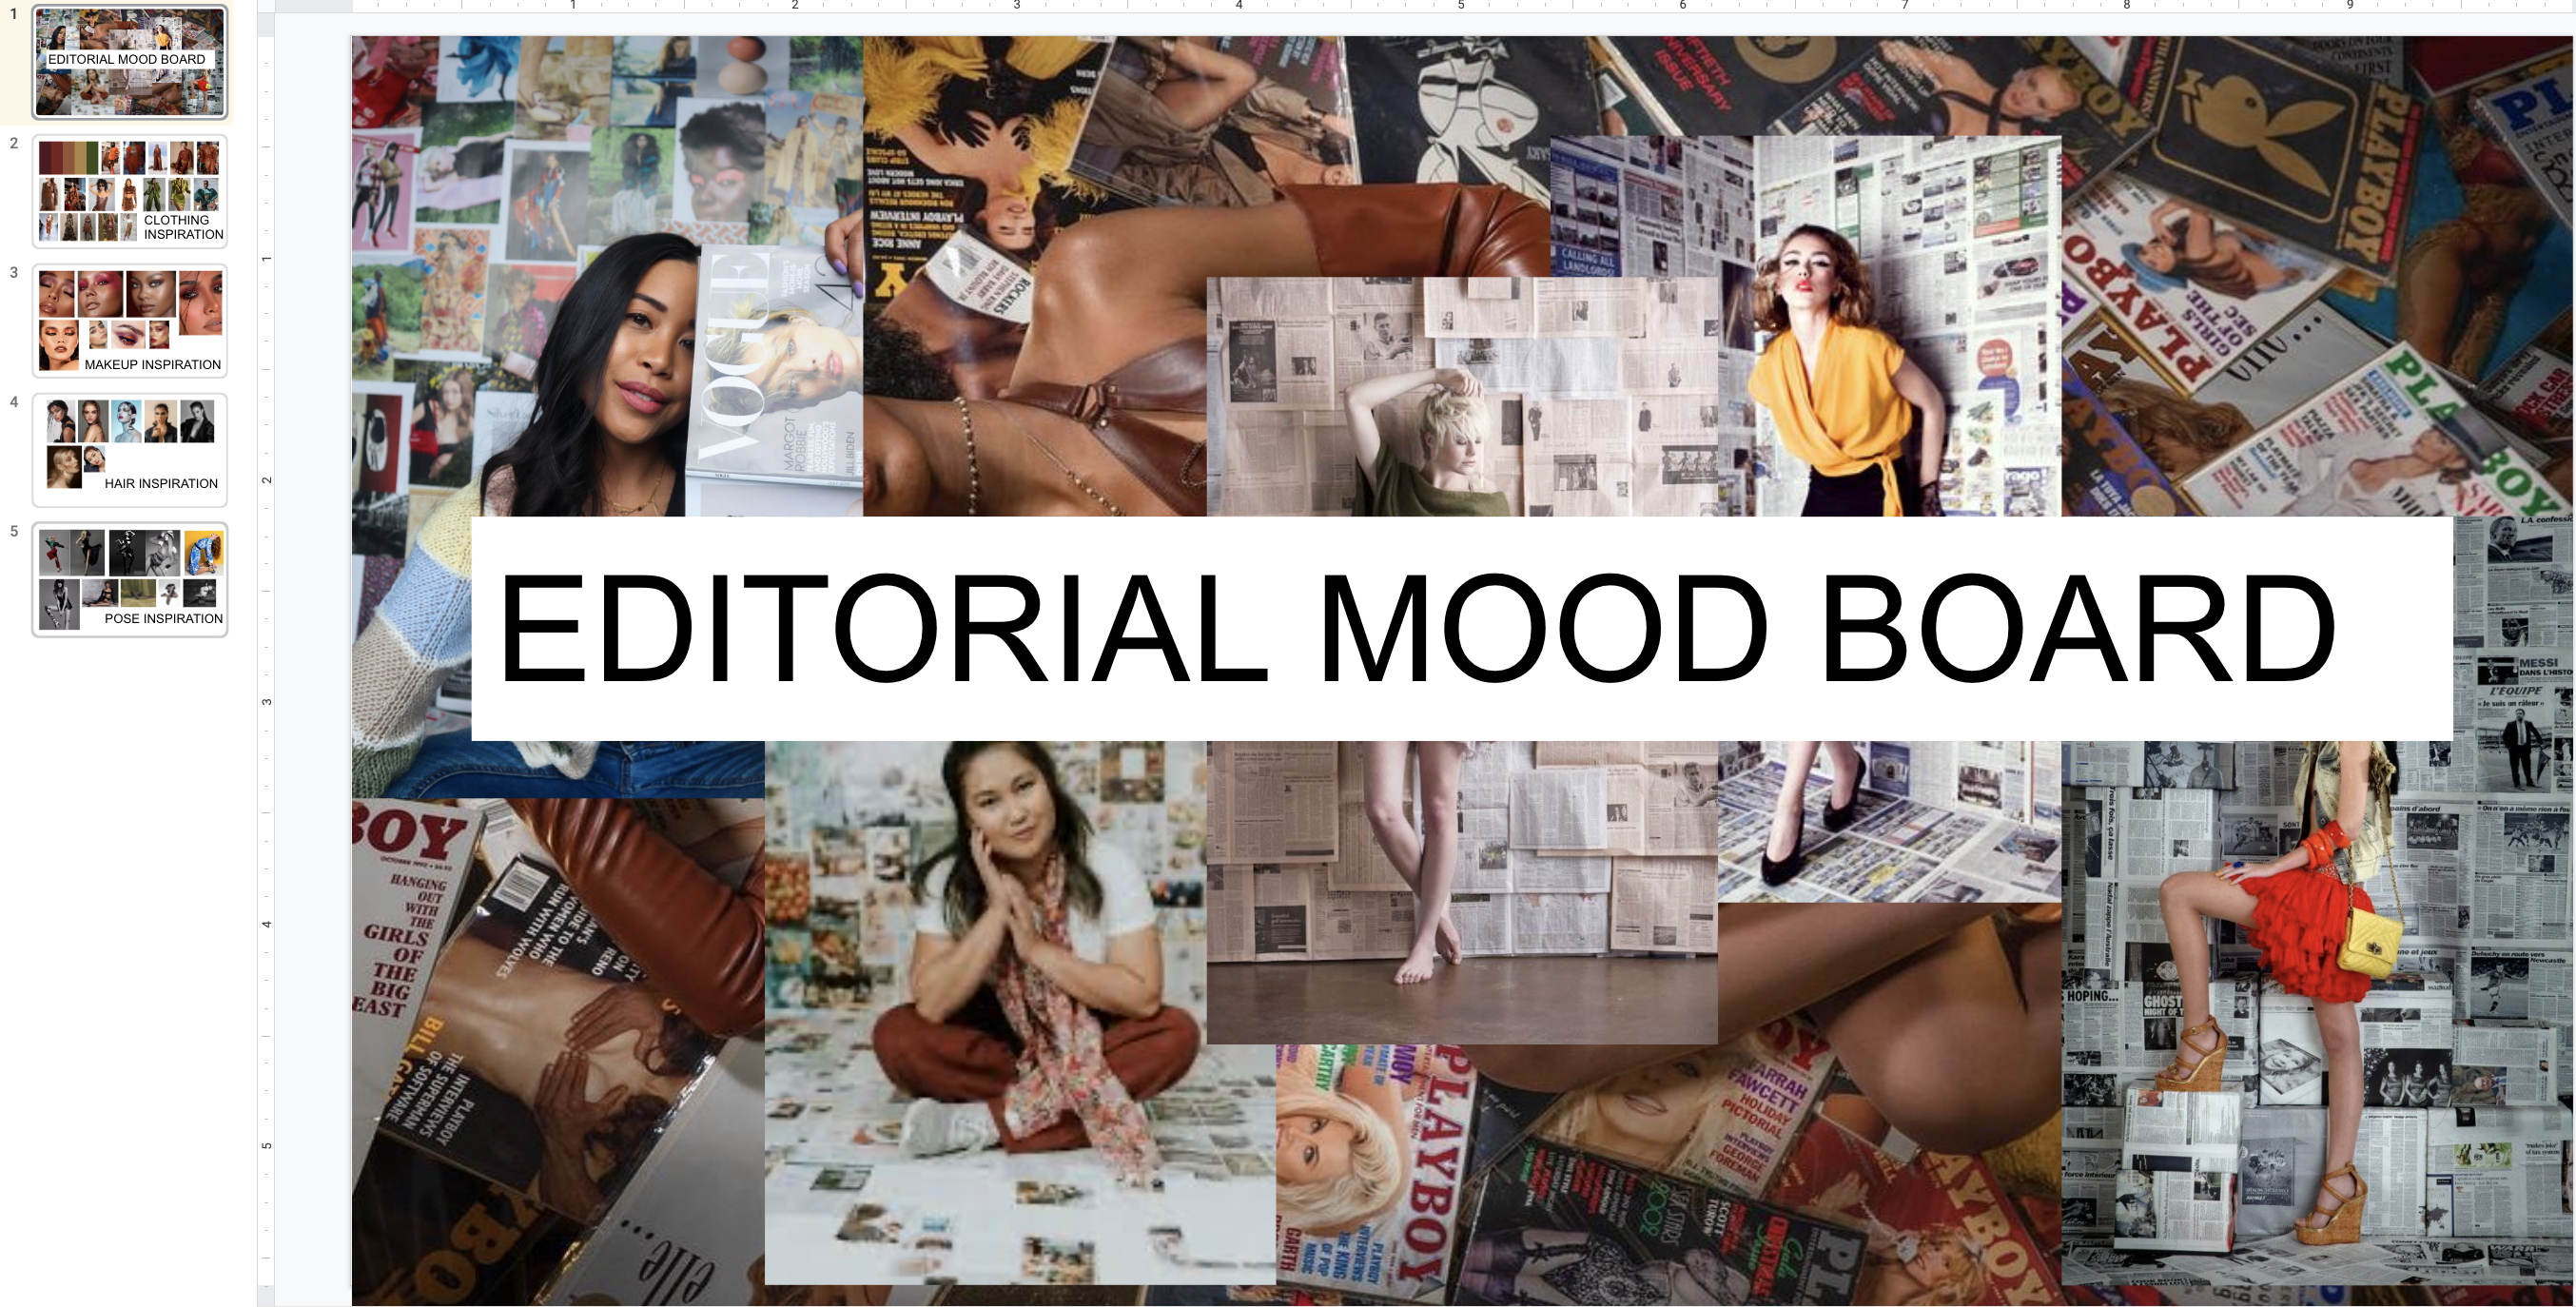
Create a mood board.
This is typically done digitally. You can use Powerpoint, Google Slides, or even Canva to do this. This is where you bring your idea into a more organized plan. You’ll want to include visuals as well as text. Be sure to include the location of the shoot. Is it in-studio or on location? Be specific! You’ll also include styling inspiration, hair and makeup inspiration, lighting inspiration, and posing inspiration. Use the mood board to express everything about your vision so someone else can look at it and immediately understand what you’re going for.
Begin Preparing
Build your team.
At the very least, you will need a photographer, stylist, model(s), and a hair and makeup artist. You might also want to consider a photography assistant, stylist assistant, and for bigger productions, a producer.
Find and work with a stylist.
Before you can work with them, you have to find them. Find a local fashion magazine and skim the credits of the editorials to find stylists you can reach out to. You can also expand your search by finding local fashion photographers online and seeing who they tag in their posts for wardrobe. Keep an eye out for the stylist’s email—this is the preferred way to reach out to them. If they do not have an email listed, you can DM them as a last resort.
Make sure you introduce yourself, tell them your concept, and attach your mood board. After you’ve found a stylist, keep in touch with them throughout the process. You don’t want to wind up in a situation where the day of the shoot comes and the stylist brings clothes that don’t suit the concept you had in mind. Keep the line of communication open.
Find and work with a hair and makeup artist.
Hair and makeup artists can be found the same way as a stylist, though there are specific key phrases to use that make the process easier. You can browse Instagram and search for phrases specific to your location followed by HMUA or MUA, i.e. “Indianapolis MUA.” Usually quite a few pop up, so look for an email to reach out to, again including an introduction and a mood board. Once you’ve found a stylist to come on board, keep in touch. On the day of the shoot, make sure you periodically check in on the progress of their work so there are no unexpected surprises.
Find and book your model(s).
At this point, you might already know what you want for a model based on the already decided-upon elements of the shoot. If you don’t know what you want, take some time to browse local modeling agency sites to help you narrow down your options until you have a clear vision.
Typically, you do want to work with modeling agencies for editorials. You will send your mood board over in an email as well as give them an idea of what you are looking for. If you want a blonde model, say that. If you want a Black model, say that. Agencies can only work with what they are told, and if you aren’t specific, it makes it harder on them. They will send what is called a ‘package’ to you, which contains images and details of the models they think would be a good fit for the shoot. You reply with the model(s) you’d like to use. For smaller shoots, agencies will usually send you some of their fresh faces who need more experience. For larger productions, you will need a budget to spend on more experienced models.
Know what equipment you need.
You might already own all of the equipment you need, but if you don’t, plan on renting from your local camera store or an online rental site. Typically, you will need the following:
- a professional camera
- a sharp lens
- a strobe light and appropriate modifier
- a light stand or two
- extra batteries and chargers
- at least one extension cord
- gaffer tape
- several A-clamps
- a steamer
- safety clips and pins.
For more high-budget shoots, you will usually have backups for each item. At the very least, be sure to have a backup camera, lens, and light in case anything goes wrong.

Make and send out your call sheet.
I know what you’re wondering: what is a call sheet? In short, it is a document including all of the information about a shoot. This includes the name and contact info for every person involved in the shoot, the location and address the shoot will be at, the date and time of the shoot, and the schedule for the day. Consider how long model preparations will take as you create the schedule to decide when you start shooting. You will want to know what shots you want ahead of time, so you can factor in the shooting time for each look. If you have multiple hair and makeup looks, you will also need to factor in the time for those changes to be made. Finally, conclude the call sheet with the expected wrap time. You send this several days or even a week before the shoot to everyone involved, including the modeling agency, which sends it on to the model(s) included in the shoot.
Focus on last minute details.
Make sure your batteries are charged and that you bring the chargers with you—so many forget this small detail, but it can derail your shoot! Check in with your team members in the days prior to the shoot to make sure everyone is still available and there are no unexpected issues. This way, if there are issues, you have several days to solve them before it becomes a day-of problem with fewer solutions. Make sure your camera settings are set and that you are shooting in RAW. If you accidentally shoot in JPEG, you will be in a world of hurt come time for editing as JPEGs are a very compressed file type, limiting the available colors you can adjust in post-processing. Better to check and double check before the shoot to avoid this issue!
Navigating Shoot Day
Take care of yourself.
Editorials can be stressful. As much as finishing all of the prep work relieves stress, there are shoot-day -nerves that almost always pop up. Make sure you get plenty of sleep, eat a good breakfast, and take breaks. After you get started on the shoot, a lot of the nerves dissipate as your reflexes kick in because you prepared so much for this day.
Set-up time.
The photographer, hair and makeup artist and stylist are usually the first to arrive. The stylist uses this time to press and steam the garments to make sure they’re camera ready by the time shooting starts. Hair and makeup set up their table so they’re good to go when the model(s) arrive.
Feed yourself and the crew.
As a courtesy, food is usually provided on set. This could be in the form of a snack table with things like fruit, cheese, and deli meat, or it could mean providing lunch for everyone. Our favorite go-to at PATTERN? Jimmy John’s! Quick and delicious.
Check-in and speak up.
Typically, everyone should be on board with the concept and vision so things run smoothly. However, sometimes things can go astray. It’s important to periodically check in on various happenings, such as the hair and makeup progress. If you wait until shoot time to say you dislike this or that, it’s much harder to correct than if you notice it earlier on. The crew are usually happy to adjust things based on your feedback, so don’t be afraid to speak up earlier on to prevent avoidable issues. (Remember, it’s your shoot!)
Final Touches
After the shoot.
Cull and edit your photos or send the raw files to your chosen editor. I tend to cull in Bridge, do most of my global adjustments editing in CameraRaw, and any local adjustments in Photoshop. Global adjustments are done to the whole photo, while local adjustments are smaller edits on specific parts of the image. An example of a global adjustment is changing the white balance, while a local adjustment might be removing unwanted objects from the scenery. Make sure the edits fit the theme of the editorial. For example, if it’s a tropical shoot, does a cooler white balance fit that or is it better to have warm tones to indicate the temperature in the scene? Make sure the editing choices don’t sabotage the overall editorial.
Get published.
This can be a tedious, difficult part of the editorial. You have all of the edited images, but now you need to find a home for them. There are hundreds of magazines looking for work. Kavyar, which we’ve already mentioned in this master-thread, is one of the best resources for photographers looking to be published.
Celebrate!
You’ve just finished your first editorial and now, it’s published. Pop that champagne! Get crazy. Go wild!
Fashion editorials are hard work. There are so many details needed to successfully pull one off, but don’t let that deter you from creating your own editorial. I’ve done several editorials published by PATTERN Digital and while it is stressful, I love every aspect of it. You have so much creative freedom, and you can make an editorial about anything—it’s thrilling!